Cascading M&M Cake

I don't remember who sent me a picture of one of these cakes, but someone did.  I was looking for a cool idea to raise some money for my Breast Cancer 3-Day Walk and thought maybe, just maybe, people would donate if I offered up one of these cakes to the winner of a drawing.  I wasn't wrong!

Of course there is a "trick" to the cake.  You can see how I learned how to make one with the link below.


To start with you need "balloon sticks."  I had no idea what a balloon stick was, but luckily Amazon.com did!  So I ordered some.  Of course it's far cheaper if you order a boatload of them so if anyone needs some balloon sticks give me a call!


The top of the balloon stick is "glued" to a cake board with a little melted chocolate.  Stick this in the frig for a little bit so that it firms up.  Next put a little of that melted chocolate on the tip of the balloon stick and put it in the top.  Stick this in the frig while you bake your cakes.  If you have a frig like mine, you may need to remove a shelf or two from your refrigerator!  The cakes I made were much bigger than the one in the demonstration above.  My bottom layer was a 9" round cake, the top layer 6".


When the cake is cooled, put the first layer down on the cake board, poking a hole through it with the balloon stick.


Frost the top of that layer and add the second, then frost the edges and top.


Before you frost the second tier, poke a hole in the middle of the cake board so you can easily place it on the bottom layers.

Frost the top tier, then place it on top of the bottom tier.  You could put dowels in the lower tier to help support the top tier if you like.  I didn't in this case.


Now the fun part!

I dumped a big bag of M&M's in a bowl so I could pick and choose which colors went where. I started placing the M&M's on the cake and outlined where the "flow" would go, then filled in the middle.

To get the M&Ms to stick on the stick you are supposed to use the chocolate.  Put a little chocolate on the stick then M&M's then wait for the chocolate to harden then add a little more and on and on.  Well, if you know me, I'm not a terribly patient person.  I got impatient waiting for the chocolate to harden so I tried just using the buttercream.

Well, that didn't work so well, all of a sudden a bunch of M&M's slid down the stick in a pile!  OK, I will work on my patience.  I added a few M&M's, put the whole thing in the frig, cleaned up a little, added a few more M&M's, back in the frig, cleaned something else, and on and on until I had the M&M's far enough up the stick that I could add the bag of M&M's.

I stuffed the bag with a little paper towel to make it look "full" and put it on top.  Here's the finished result!  The winner gave this cake to her nephews for their 8th birthday party.  I hear it was a hit!


Bobby Flay's New Mexican Spiced Pork Tenderloin with two sauces

I was lucky enough to have dinner at Bobby Flay's Mesa Grill in Las Vegas a couple of weeks ago. I actually ate there twice in the week I was in Vegas and I had the same thing both nights. It was that good!

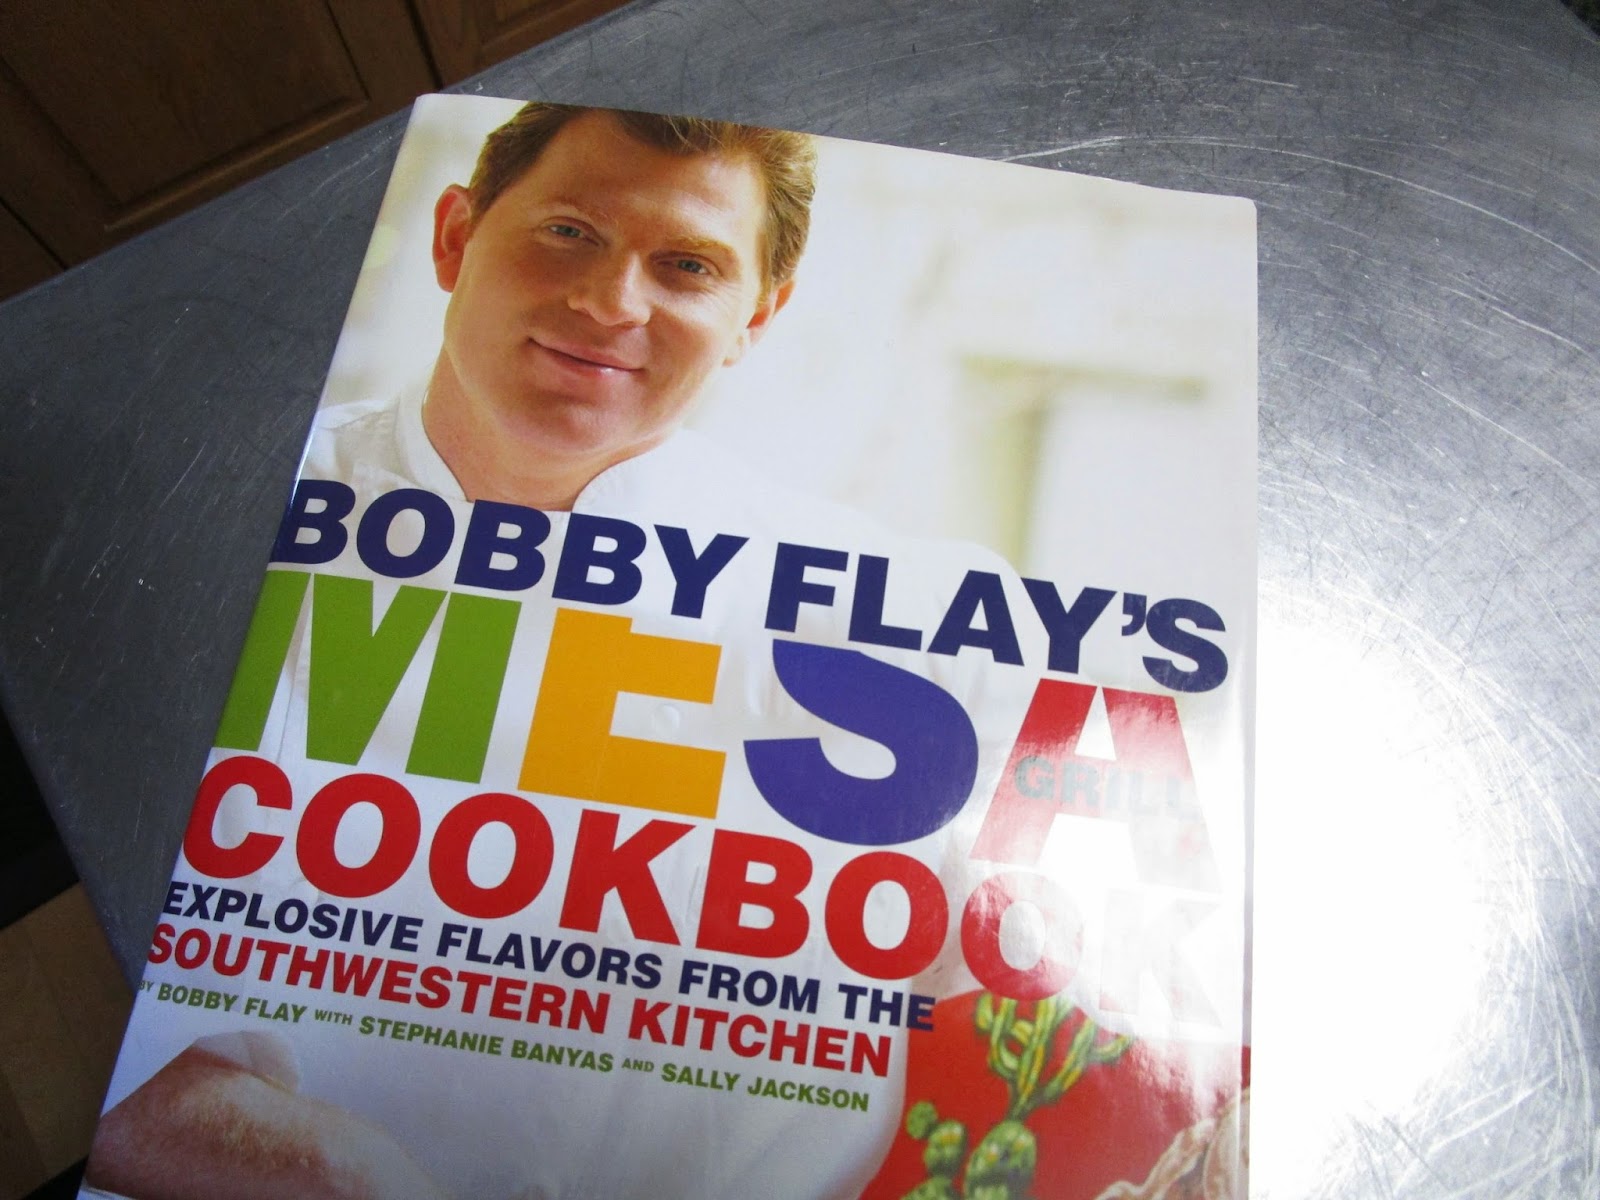
What did I have? New Mexican Spiced Pork Tenderloin with Bourbon-Ancho Sauce and Smoked Red Pepper Sauce. It was amazing, just the right amount of heat and smoke. So, of course I had to make it. As soon as I got home I ordered the Mesa Grill cookbook. It came. I made this dish!

One look at the ingredients and I knew I would have to visit my friends at El Burrito Mercado in West St. Paul. I stock ancho chili powder in my pantry but had never heard of chile de arbol or pasilla chili powder before. I needed to pick up some ancho chiles for the sauce too. I've used those before, just didn't have any in the house.

I knew El Burrito Mercado would have the dried ancho chiles and I was lucky enough to find chile de arbol there as well. What they didn't have was pasilla chili powder.  They did have dried pasilla chiles however. I decided to buy the chiles and grind them myself. 


It worked just fine. I cut the stems off, chopped them in pieces and put them in my spice grinder. Voila, pasilla chili powder.


Now that I had all the ingredients it was time to start making the sauces.

I started with the Smoked Red Pepper Sauce. The recipe calls for roasting the red peppers in the oven. I normally do this over the flame on my stove but I was doing a bunch of other things at the same time so I thought the oven would be easier. It definitely took longer than on the stove, and even after almost double the time the cookbook suggested, the peppers still weren't very charred. But the skin was peeling off so I considered them done and moved on to the next step!


To make peeling the peepers easy, place them in a covered bowl, or like I do, just put them in a plastic bag for about 15 minutes. After steaming the skin will come right off.


I needed some roasted garlic too so while the peppers were roasting I threw a little garlic in the oven as well. I love the smell of roasted garlic!


The final ingredient that needed a little prep was the chipotle pepper puree. This was easy, empty a can of chipotle peppers in adobo sauce into a food processor and process away!


To make the sauce, the peppers, garlic, some chopped purple onion, red wine vinegar, Dijon mustard, honey and a tablespoon of the chipotle pepper puree are all put in a blender. While the blender is going, canola oil is poured in and the mixture is blended until it emulsifies. The result is this absolutely beautiful orange sauce. You can smell the roasted peppers and the sauce has a smokey, sweet flavor and just a kick of heat. And the batch makes A LOT, I'll be finding uses for this sauce....


Sauce one done. Next Bourbon-Ancho Sauce!

I'm not a fan of bourbon at all. I don't even like the smell of it. But I really liked this sauce at the restaurant. And I wanted to make the whole recipe! So here's the mise en place, olive oil, bourbon, apple juice concentrate, chicken stock, onion, ancho chiles, peppercorns and brown sugar.


This sauce was easy to make, but it takes a long time. You have to re-hydrate the ancho chiles and there is a lot of reducing which is probably why the sauce has such amazing flavor.

Step one is to re-hydrate and puree the ancho chiles so start early! The chiles have to soak in hot water for 30 minutes. Once they are re-hydrated, the stems are removed and the chiles, along with a little of the water used to re-hydrate them are put in a food processor and pureed. The recipe said to seed the chile but I left the seeds in. The sauce is strained so I left the seed in for a little more flavor.

The recipe also calls for 8 peppercorns. Yes, not "a few", but exactly 8. So that's what I used.


The sauce starts with some sauteed red onion to which two cups of bourbon is added. This is reduced until there are just a couple of tablespoons of liquid left.


To the reduced mixture of onions and bourbon, the ancho chile puree, chicken stock, apple juice concentrate, exactly eight peppercorns, and the little brown sugar are added.

This mixture is then reduced by half. This took longer than the 10-15 minutes the recipe suggested. I'm glad I started the sauce early. The mixture is then strained and put back on the heat to reduce a little more, to "sauce" consistency. The color changes from a bright red to a delicious brown.  This sauce, in total took almost 2 hours to make start to finish. I highly recommend making it the day before you need it!

This is one of the most delicious sauces I have ever tasted. It doesn't taste like bourbon at all. It's savory but a little sweet from the apple juice concentrate and onions. It's rich and creamy and earthy an deep and I could have just eaten it with a spoon!  Now I couldn't wait for the pork!


Sauce two done. Now on to the star of the dish, the pork! After all that chopping and pureeing and reducing, the pork was pretty darn simple.

A pork tenderloin is seasoned with salt and then coated with Bobby Flay's New Mexican Spice rub.  The rub is a combination of ancho chili powder, brown sugar, the pasilla powder I made from dried chiles, the chile de arbol, cinnamon and allspice.


After searing the pork on all sides it is finished in a 400 degree oven.


I tried to plate it as nicely as they did in the restaurant, sliced in medallions, coated with the bourbon sauce and a little of the roasted red pepper sauce then a garnish of chives. I served it with some roasted butternut squash.


I told my husband to taste the brown sauce first. He was speechless. He just looked at me with that "OH.MY.GOD that is good!" look on his face. I don't think we said more than a few words during dinner we were enjoying it that much!  Yes, I over cooked the pork a little, but it was still really good.  The brown sugar in the rub caramelized beautifully giving a nice crunch on the outside of the pork. The bourbon sauce brought down the heat a touch with its heavenly dark, rich, flavors and then there was a little pop with the roasted red pepper sauce.  

This was as good as at the restaurant. Sometimes the recipes aren't quite up to the restaurant but these were.  Of course at home we have to clean all the dishes. And it took me a LONG time to make this when you factor in all the time to make the sauces but it was well worth it!

This one is going on our "good enough for company" list!


The Best Lemon Cookies

I was lucky enough to have dinner at Giada in Las Vegas last week. Not lucky to be in Vegas, Vegas is not even remotely somewhere I desire to go. But as long as I had to be there I decided I would eat well.  And I did. Including a delicious dinner at Giada DeLaurentis' restaurant.

For dinner I had an amazing vegetable bolognese. For dessert, Giada's Favorite Cookies. I got two each of her three favorite cookies. There were chocolate chip, peanut butter with some sort of jam in them and lemon ricotta cookies. The first two were just OK, nothing special. But the lemon ricotta cookies were amazing. They were quite possibly the best cookie I have ever eaten. I knew I had to make them!


The night I got home I went to my closet full of cookbooks and pulled out my Giada books and started searching for the recipe. I found it in Giada's Kitchen.

Here's a link to an online version:
Lemon Ricotta Cookies


I was excited to see that the recipe made 44 cookies. I could share some and still have enough to get my fill!

They are a snap to make, cream butter and sugar, add eggs, ricotta cheese, lemon juice and lemon zest then add the dry ingredients. The batter is a light, fluffy, and lemony.


Giada says to line two baking sheets with parchment and to drop the batter by 2-tablespoonfuls onto the baking sheets. Her baking sheets must be significantly larger than mine because 22 cookies would never fit on one of my sheets. I also think that the recipe doesn't really mean 2-tablespoons of batter per cookie. For the first two trays I used a 2-tablespoon scoop. There was no way I was getting 44 cookies out of the batch. For the last tray I used a 1 1/2 tablespoon scoop. In total I got 36 cookies.

I didn't know how much the batter would spread so I was conservative and only put 8 cookies on the first tray.


I filled the second tray a bit more full, with 11 cookies.


The cookies are baked for 15 minutes then left to cool on the trays for another 20 minutes. They did spread a little but my 11 cookie-tray baked up just fine.


While the cookies are cooling a glaze of powdered sugar, lemon juice and lemon zest. 


The glaze is painted on the cookies and then, get this, you have to wait TWO HOURS before you can eat them!  What? No way was I waiting 2 hours. I ate one right away. Delicious. The cookie was light, airy and lemony without being too sweet. These are now my new favorite cookie.  Next time I'll put the glaze all the way to the edges like they did at the restaurant and I'll use the 1 1/2 tablespoon scoop instead of 2 tablespoons, otherwise I wouldn't change a thing!


Vegetable Bolognese?

I had to go to Las Vegas for work last week. I'm not a Vegas fan. I don't gamble. I'm not into "shows", a good play, yes, showgirls, no. I am not independently wealthy so shopping in the ridiculously over-priced stores isn't for me either.  Vegas is loud, crowded, expensive and smoky so being there for 6 days and 5 nights was torture for me.

The only redeeming feature of Las Vegas is the restaurants. There are some good ones there and I did get to try a few.  One was Giada.  This is Giada DeLaurentis' only restaurant. It is beautiful if not noisy, right on the strip, windows open! Once the crowd settled in the street noises went away and there was a nice mix of conversational hum and background music. The music surprised me. It wasn't Sinatra, it was a mix of contemporary music.

Honestly there was a lot on the menu that sounded delicious. Lobster Arancini with calabrian chili pomodoro and basil aioli? Pecorino Tartufo with apricot preserves? Margarita Pizzette? I was having a hard time deciding so I asked the bartender if there was a "signature" dish on the menu.  Yep, Giada's Spaghetti was the signature dish. She also mentioned the Rigatoni with vegetable bolognese.  This was also marked as a "Giada Classic" on the menu. I loved the oxymoron of a vegetable bolognese so I went with that.


It was delicious! You would swear there was some sort of meat in it, it was so hearty and earthy tasting. Those of you who know me, or have read this blog, know I hate mushrooms.  Hate them. This dish was full of mushrooms and I loved it!  Go figure!

So when I got home I grabbed my Giada cookbooks and started scouring them for this recipe. I found it in Giada's Kitchen.

Here is a link to an online version:

Rigatoni with Vegetable Bolognese


The recipe called for an ounce of dried porcini mushrooms. I don't know if I've ever purchased porcini mushrooms before. Remember I don't like mushrooms. I think if I had purchased them I would have remembered they were $6.99/ounce. That's not a typo, they were $6.99/ounce!  That's nearly $112/pound! For mushrooms! That I don't like! The recipe also called for 5 ounces of "assorted" mushrooms. I chose a mix of baby bellas and shiitakes.


To start you soak the dried porcini mushrooms in hot water. The, um, aroma of the mushrooms in the hot water was, well, gross. It smelled like the floor of a barn. And I was going to put this in something I was going to eat? Move it out of the way so I can't smell it and move on!


The "meat" of the sauce consists of an onion, red bell pepper and some garlic that are processed until they are slightly chunky. I had the advantage of having this at the restaurant so I know it was fairly small chunks.


This delightful mixture is sauteed in a little olive oil with some thyme, oregano and a little salt. I started out in my favorite Lodge Cast Iron pan.


Once the veggies have softened the stinky porcini mushrooms, fresh mushrooms and a little tomato paste are added and cooked a little. Then the stinky water used to re-hydrate the mushrooms is added, along with some yummy red wine. Now it was smelling amazing! I love the aroma of red wine cooking! We had opened a Seghesio Carignane earlier in the day so I used that. Never cook with wine you wouldn't drink!


Finally a little marscapone cheese is added to make the mixture nice and creamy.


Add some rigatone, some freshly grated Parmesan cheese and dinner is served!


How was it? Was it as good as at the restaurant? Well, nothing is as good as at the restaurant. At home you have to do the dishes! Was it good?  Yes! It has a great earthy flavor. It was creamy and coated the rigatoni perfectly. Some of the sauce made its way inside the noodles for a particularly amazing bite. I ate mushrooms and I liked them! I'll definitely make this again, it's good enough for company!

Homemade Pita Bread

Jalapenos have come in at Farmer's Market which has me thinking of all recipes jalapeno.  I'll probably can some too, but that will ...

Popular Posts